You just had your car tinted. It looks great from three steps away, but up close you can see a few tiny bubbles trapped under the film, and now you are on Google at 10 PM trying to figure out if you just wasted your money.
Deep breath. Most bubbles you see in the first week are not bubbles at all. They are pockets of the slip solution every installer uses, and they are supposed to be there while the film sets. The real question is which bubbles are normal, which ones are a problem, and what to do about each. That is exactly what this guide covers.
Normal: curing moisture in week one
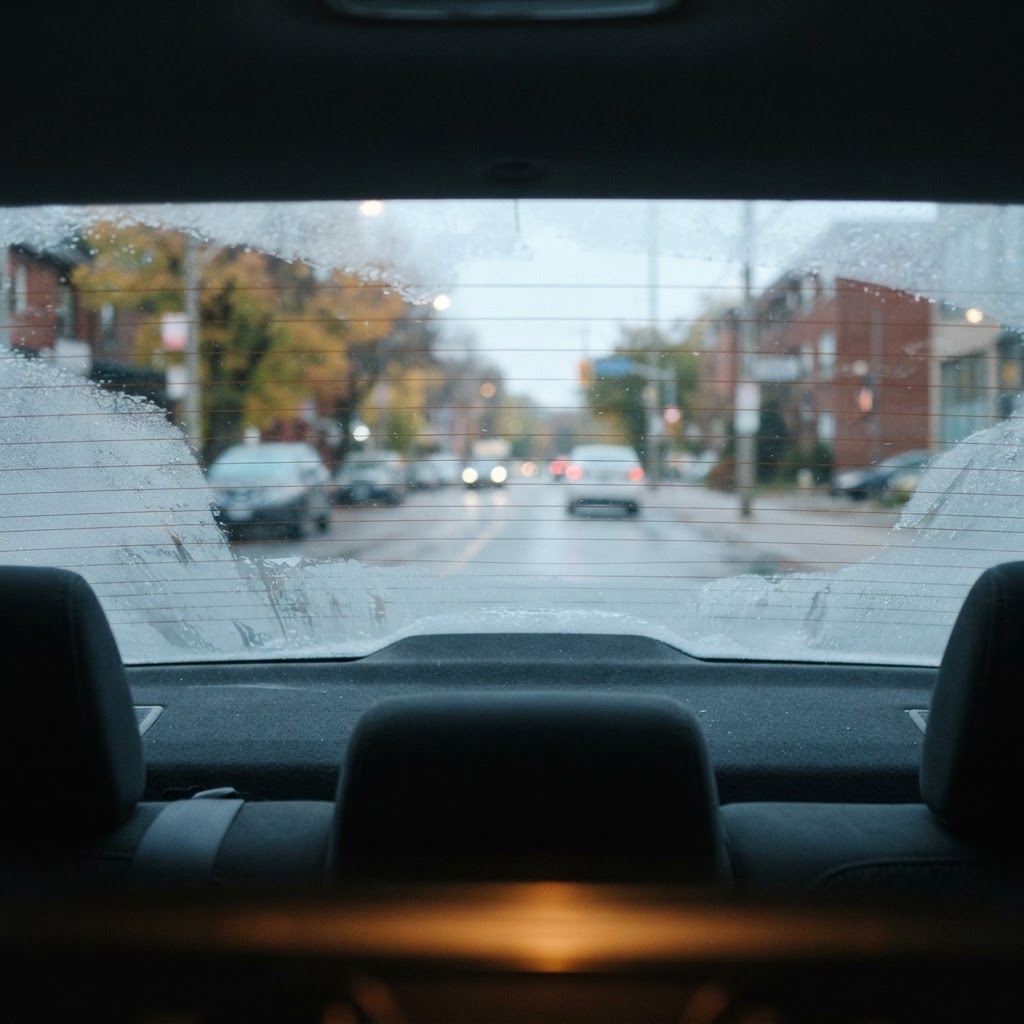
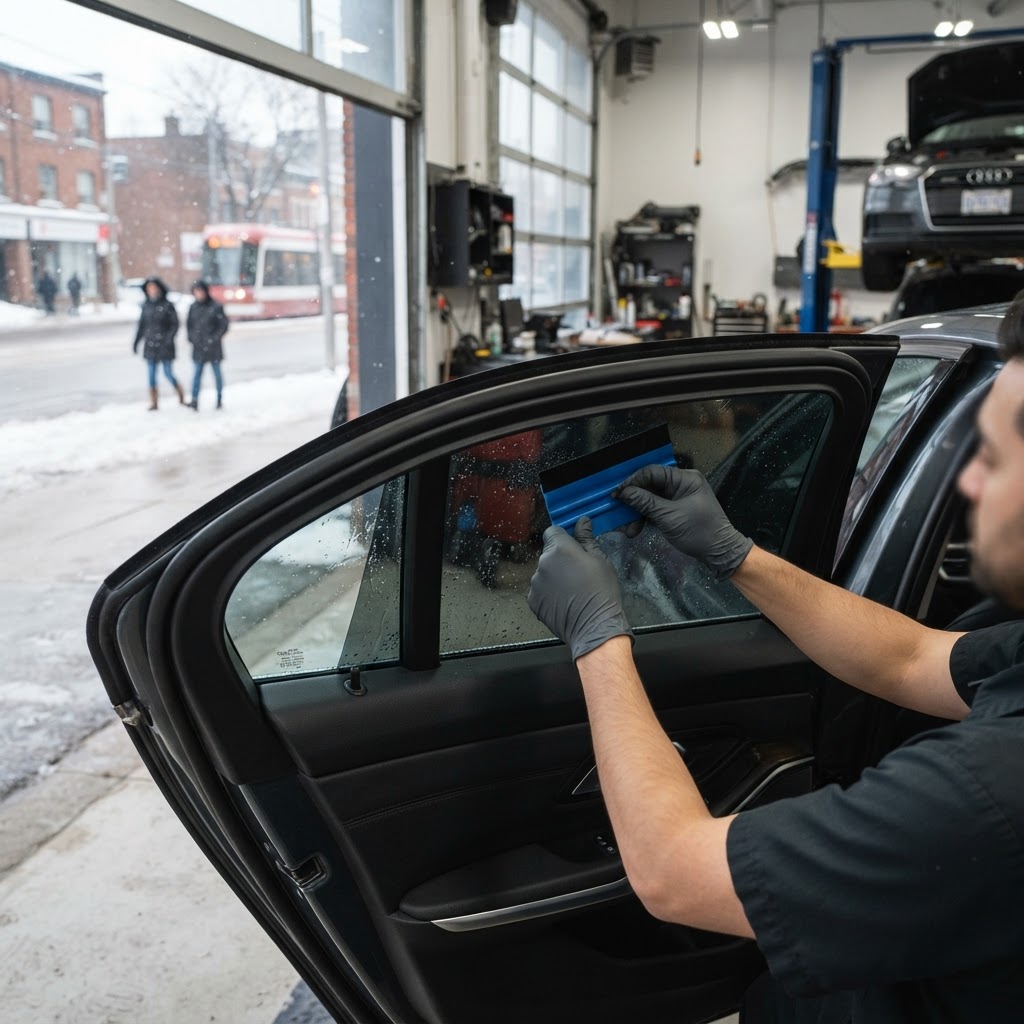
Installing tint requires a soapy slip solution so the film can be positioned on the glass before it locks down. No installer can squeegee one hundred percent of that water out on the day of the install. What is left sits under the film as tiny hazey pockets and slowly evaporates through the film over the cure period.
Those look like small water droplets or faint haze patches, usually scattered randomly. In summer weather they can disappear in a few days. In a Toronto October or November, the cold slows evaporation and they can take three to four weeks to fully clear. That timeline is normal and we walk through it in detail in our guide to how long window tint takes to cure. The colder it gets, the longer the film holds moisture, which is one reason we tell people winter installs need patience during curing, even though the install itself happens indoors in a heated bay.
Not normal: the bubbles that mean a bad install
Here is the honest checklist. Bring your car back to the installer if you see any of these:
- Bubbles with dirt in them. A speck of dust or a hair trapped under the film will never evaporate or flatten. That is contamination, and it means the glass was not perfectly clean when the film went on.
- Large air pockets, especially near edges. Air does not cure out. A big soft pocket near the edge means the film never bonded to the glass in that spot, and it usually grows.
- Finger lifts at the edges. If you can see the film edge starting to curl up in a corner, the cut was too close to the frame or the edge was stressed during install.
- Creases or wrinkles. Those happen when the film gets stretched or folded during handling. They are in the material itself and they do not fix themselves.
- Bubbles appearing months or years later. Fresh bubbles on old tint mean the adhesive is failing, which is classic cheap film behaviour. Quality ceramic film carries a manufacturer warranty against exactly this.
Whatever you do, do not pop them
Every spring we see cars where someone took a pin to a curing bubble. Here is why that is a mistake. A needle hole is permanent. Even if the pocket flattens, you have left a visible pinhole in the film that collects dirt, and it can start a peel line. The moisture pockets would have evaporated on their own; the pinhole never goes away.
Same goes for pressing on them, heating them with a hair dryer, or peeling an edge to let the air out. You can turn a self fixing situation into a replacement. If a bubble is genuinely air or contamination, the fix is re-doing that piece of film, not field surgery with a pin.
How we prevent bubbles in the first place
Bubbles are mostly an install discipline problem, and that is controllable:
- A clean bay. We film in a dedicated indoor space, not a parking lot. Dust is the number one cause of contaminated bubbles, and outside installs guarantee it.
- Plotter cut film. Every piece is cut to the exact glass pattern, so no knife trimming against your glass and no stressed edges that lift later. The rear window matters most here, as we explain in our piece on tint and your rear defroster.
- Ceramic film only. We do not sell the cheap dyed film that bubbles and turns purple in a year or two. Our packages run $99 for the two front windows, $179 for a sedan or coupe, $199 for an SUV and $239 for a van, and the full breakdown is in our Toronto pricing guide.
- Post install check. You leave knowing exactly what the film should look like over the next few weeks, so you are not guessing at 10 PM.
If a shop quotes you a full car far below those numbers, bubbles are usually where the savings show up. It is the single most common thing we get asked to look at on other shops' work.
If you already have problem bubbles
If your tint is fresh, give it the full cure window before judging anything. Four weeks, longer in cold weather. If after that you still have dirt bubbles, air pockets or lifting edges, the installer should re-do the affected pieces. That is a normal expectation, not a favour.
If the bubbles appeared on old tint from another shop, the film is failing and the real question is what to replace it with. We remove old failed film all the time, and honestly assessing whether a re-do is needed is part of choosing an installer, which we lay out in how to choose a window film installer.
Send us a photo
Snapping a clear photo of the bubble and texting it to us is the fastest diagnosis: we can usually tell curing moisture from contamination in seconds, even on film that is not ours. Window film is all we do, cars, homes and businesses, nothing else, installed daily in our North York bay and serving Toronto, Vaughan, Thornhill, Richmond Hill, Markham, Mississauga, Brampton, Scarborough and Etobicoke. Call or text 437-331-5379 or use our contact page, and we will tell you honestly whether to wait it out or redo it.